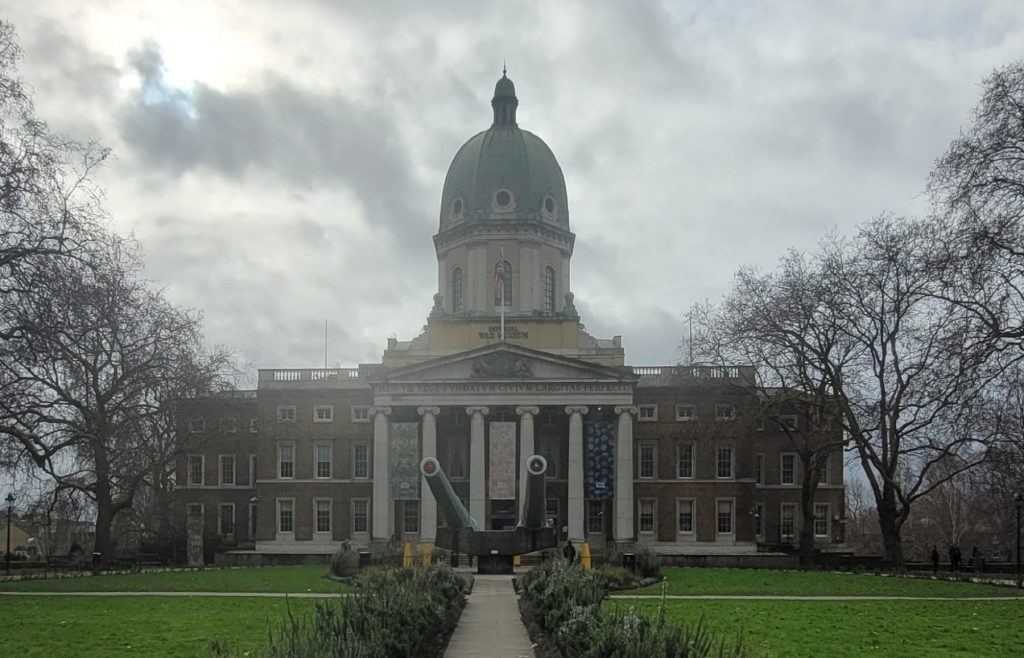

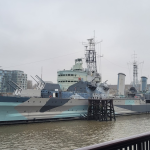
The Imperial War Museum (IWM) London is the largest of the IWM’s in terms of the scale of its displays and interpretation. You could easily spend hours just in the World War One section alone, I know that I spent over 15 minutes on just one digital panel, exploring all it had to offer. The museum was founded during the First World War and has some incredible items on display, such as a Harrier jet and a V2 rocket, which are incredibly striking as the first things you see when you enter the museum. The website states that the goal of the museum is to give a voice ‘to the extraordinary experiences of ordinary people forced to live in a world torn apart by conflict’.1
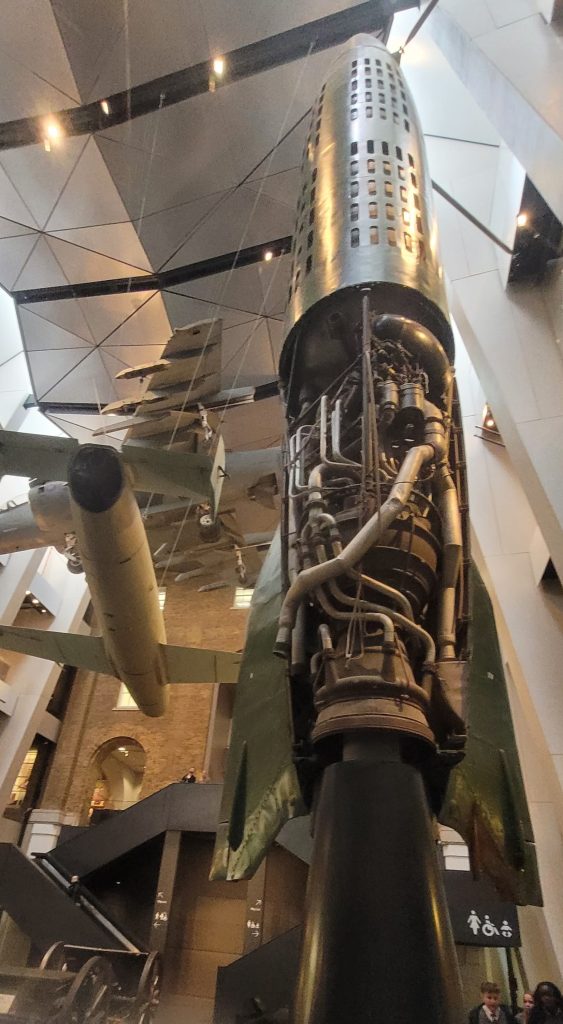
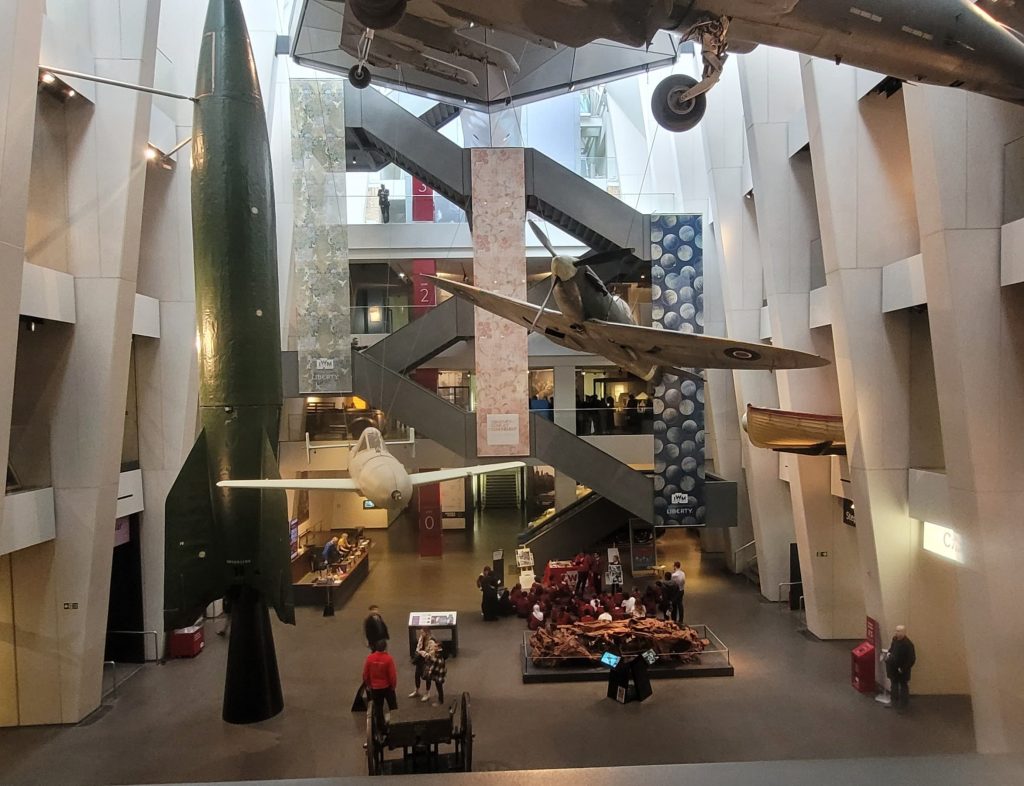
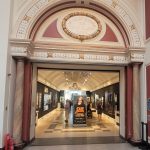
The IWM London allows visitors to freely explore the exhibits; however, as the atrium is incredibly striking, it is undoubtedly the first place visitors should and will explore. Inside it are the previously mentioned Harrier jet, V2 rocket, and much more. My personal favourite display was the ‘Baghdad Car’, which is a rusted, mangled car that was destroyed by a suicide bomber in Iraq. By displaying what was once an ordinary everyday item, this display showcases the destructiveness of recent conflicts in a more interesting manner, and it pairs nicely with the awe factor of the Spitfire and Japanese WW2 kamikaze plane. The first gallery to explore beyond the atrium is the First World War Gallery, which allows the visitors to then progress through the IWM London in chronological order.
The First World War

Each gallery in the IWM London starts with a short introductory section. The opening to the WW1 section sets you up for the rest of the extensive gallery. There are models, photos, videos, and a short narrated video.
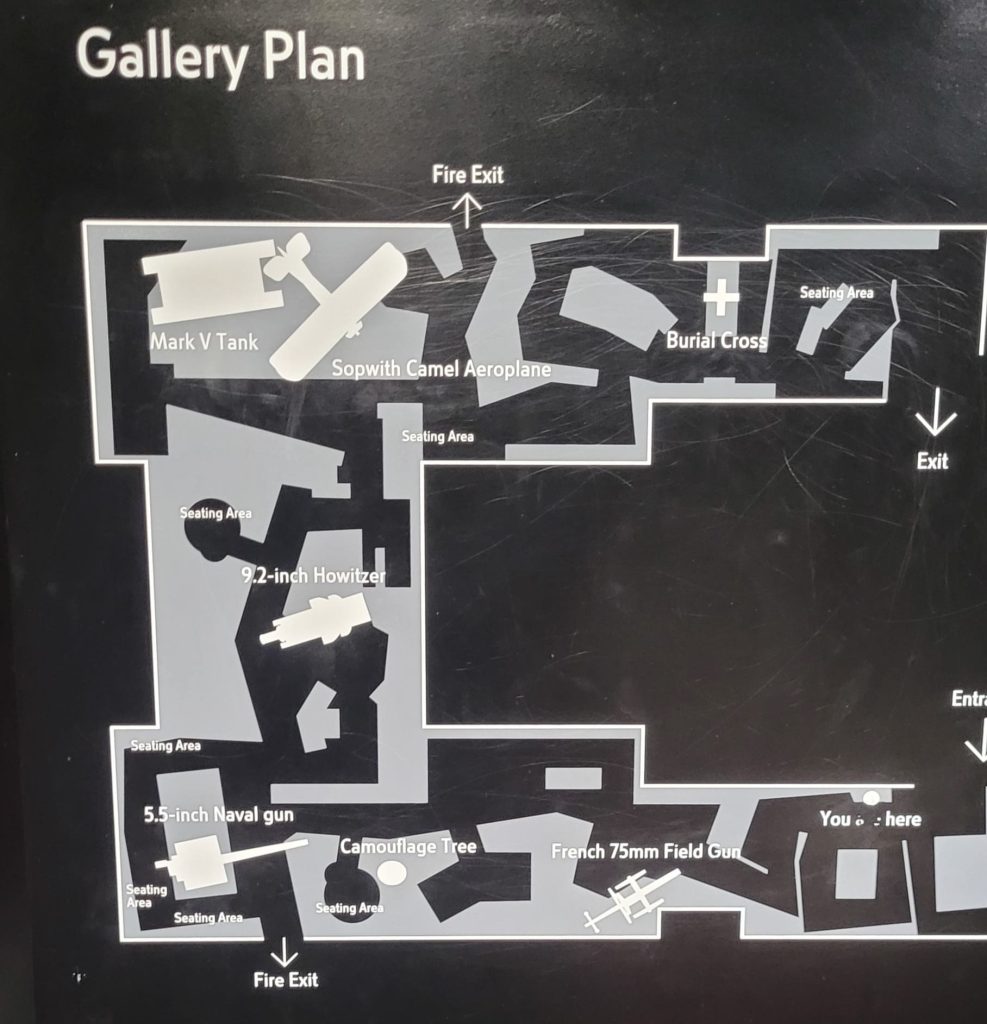
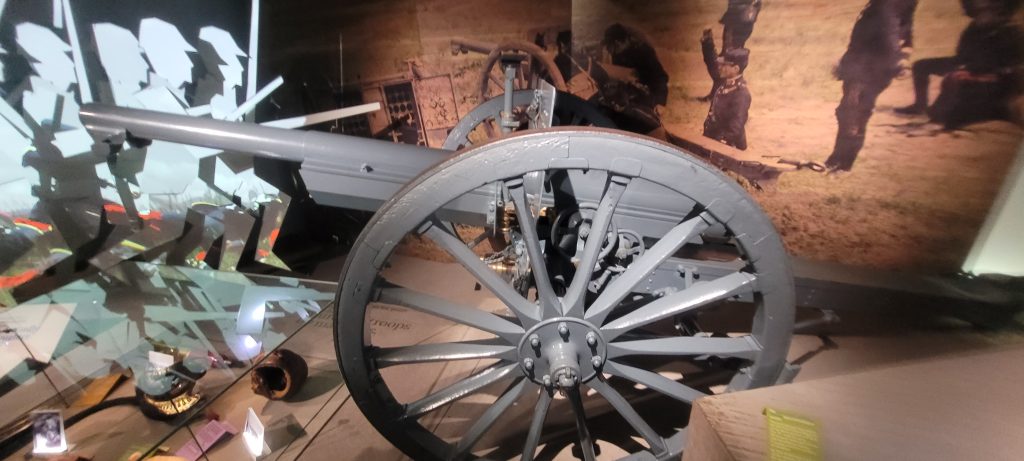
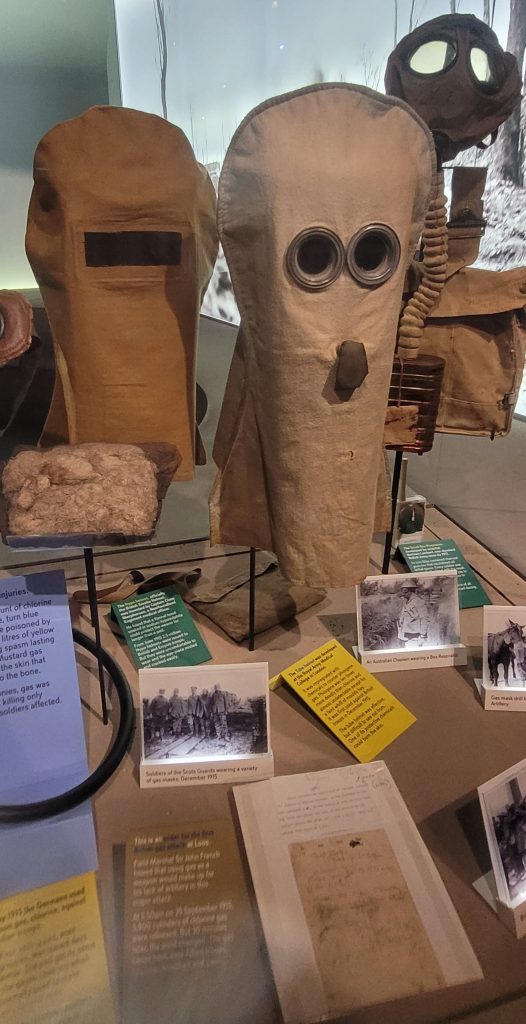
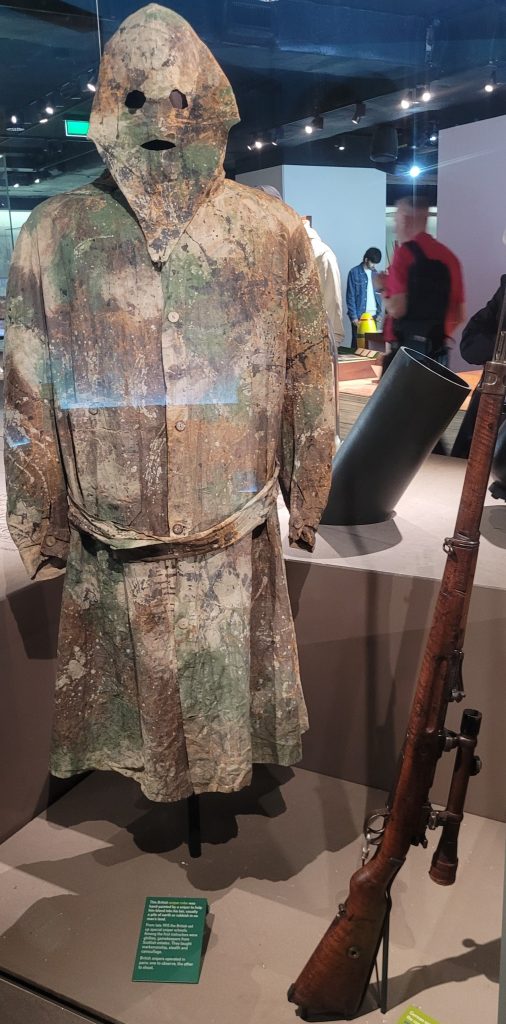
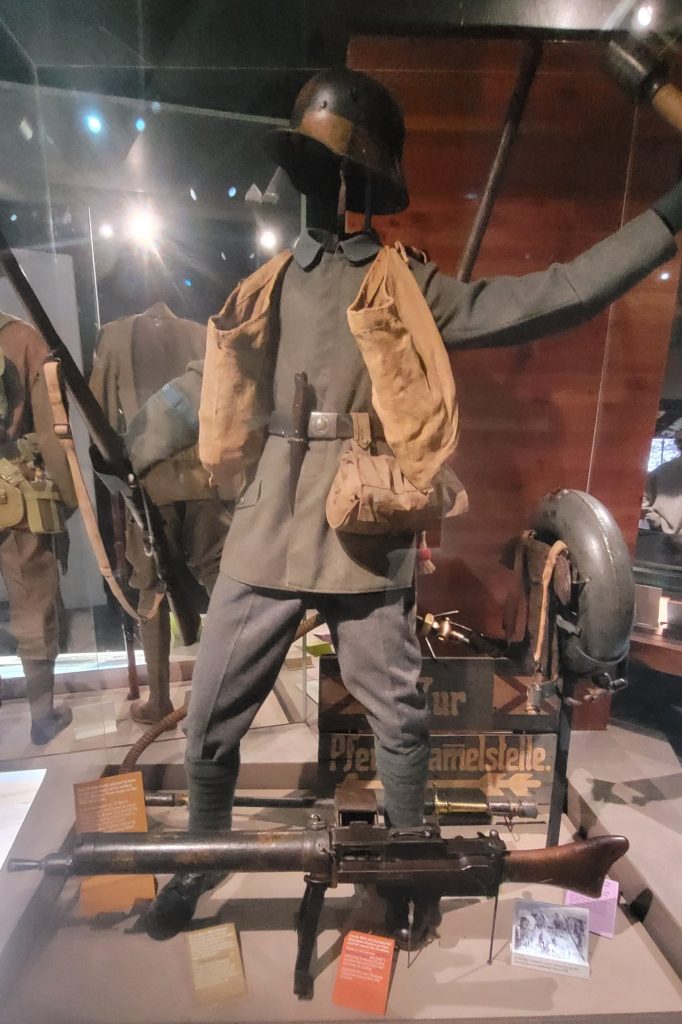
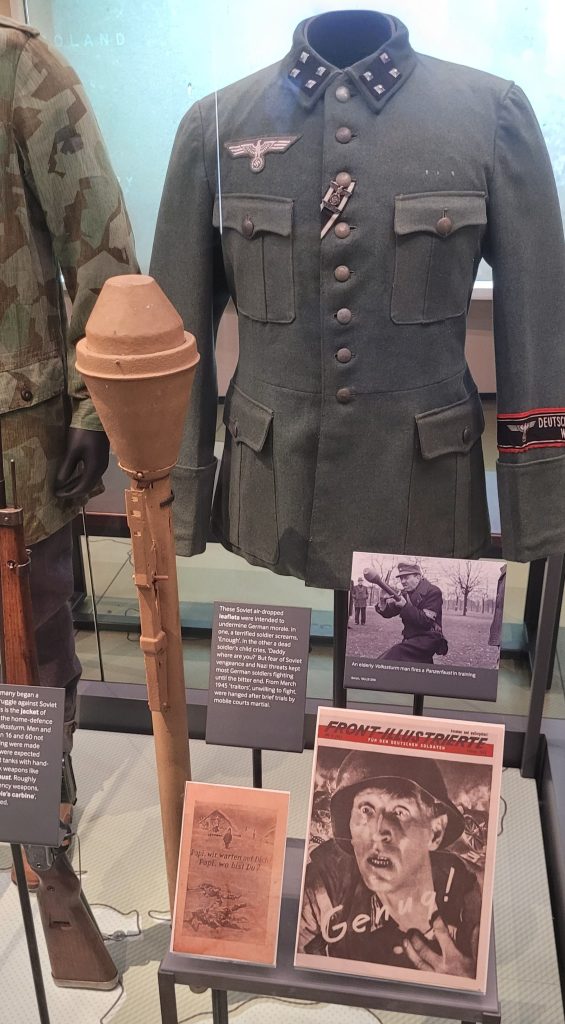
The main section of the WW1 gallery follows the war as it happened year by year, with different sections dedicated to various aspects of the war such as naval warfare, trench warfare, and gas attacks. The experience can be quite immersive as the lighting is dim, and the displays take a quite industrial tone as they are all set on stone. Furthermore, various sounds like shelling are playing throughout the gallery, helping to keep the visitor immersed in the experience. Certain sections, like the gas section, have actors speaking quotes of people who lived through these experiences whilst showing the results of the atrocities of war. Some of the displays are certainly not meant for the squeamish, which in itself can be quite a potent anti-war message.
One of my personal favourite parts about museum interpretation are interactive exhibitions. This is no different in the IWM London, as I spent well over ten minutes on one screen exploring the First World War from the perspective of Russia and even the Ottoman Empire. Whilst the museum primarily focuses on the British side of conflicts, I like that it includes significant details and even has sections dedicated to the impact of war on the other countries involved in them.
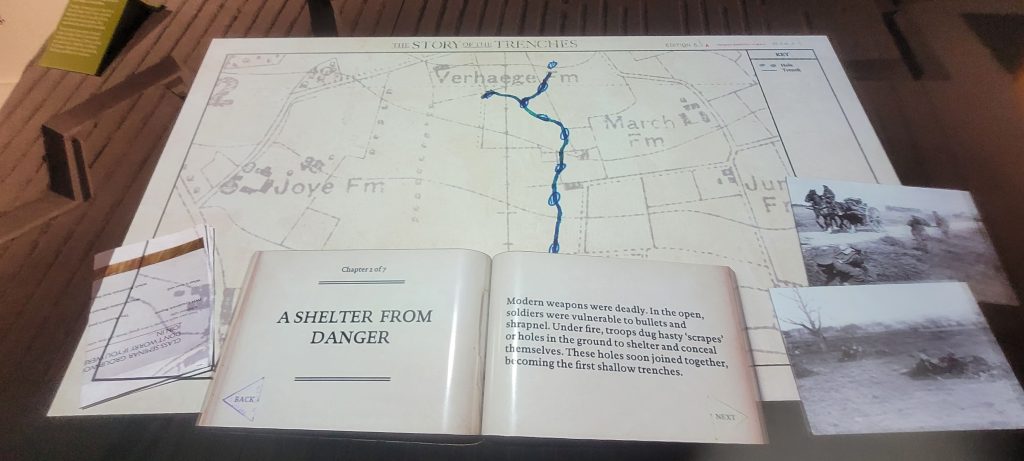
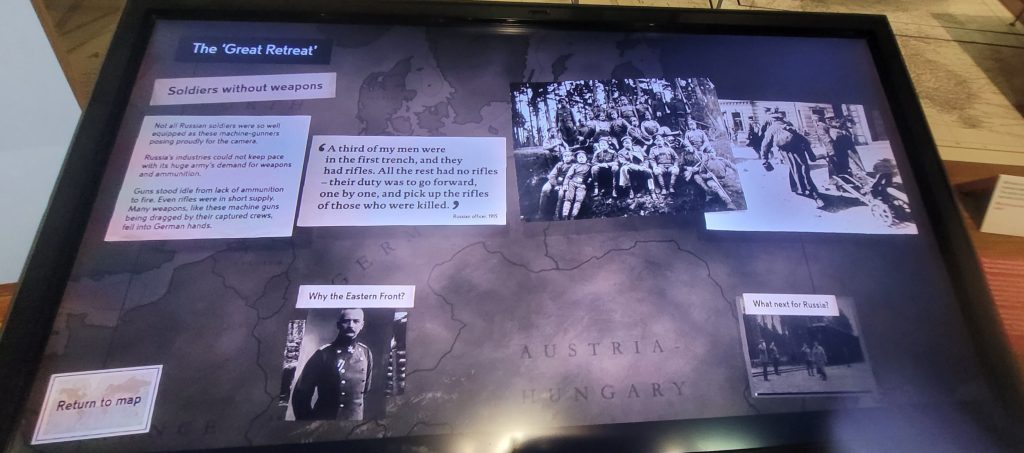
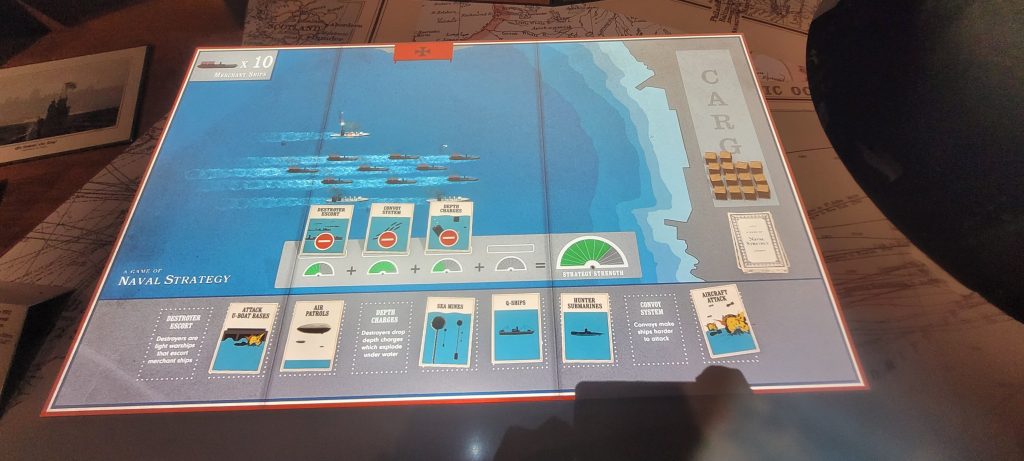
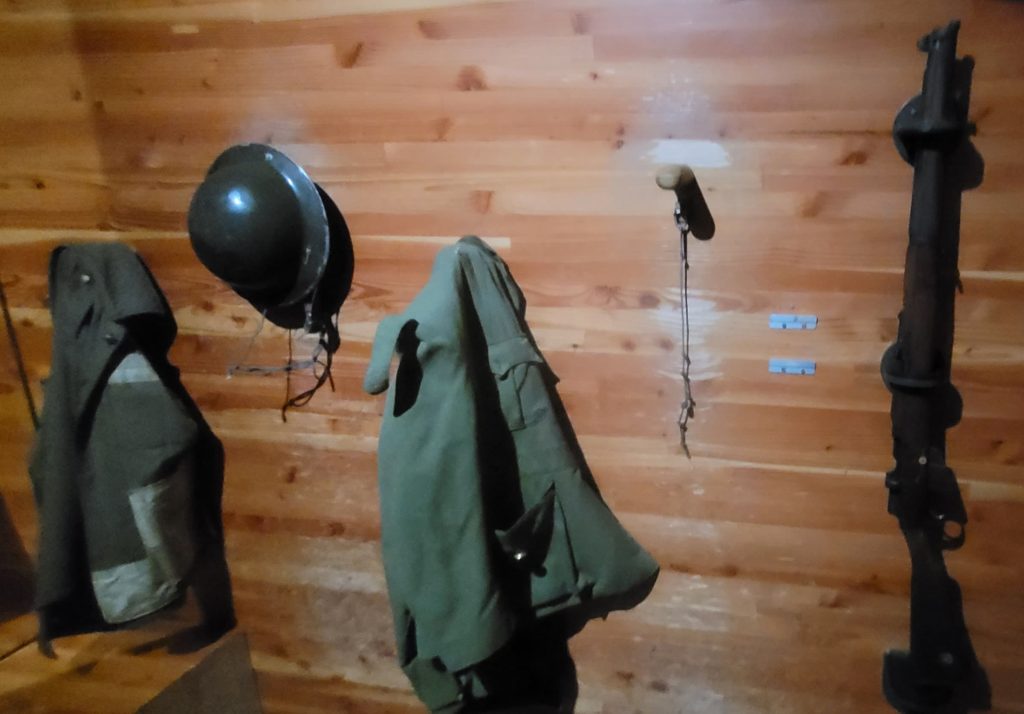
The full range of interpretive techniques are on display at this museum, showcasing so many different aspects of the war. There are items on display from each year and each different facet of the war. There are also digital interactive panels, videos, photographs, interactive games, and there is even a small trench display which you are able to walk through. To top this off, there is a small station with a recreation of a British soldier’s uniform that you are able to touch and try on. Whilst this is obviously for children, adults can also benefit from this display as it quickly allows you to get a feel for the quality of a soldier’s life, particularly when picking up the gun, which shows that when put together a soldier’s uniform would have weighed a lot. These varied and interesting interpretive techniques make the First World War Gallery the best I have seen out of any museum I have visited.
The Second World War
The Second World War Gallery follows the same trend as its predecessor; the opening gives a quick introduction of the different big powers of the war. The noticeable difference, however, is that the gallery areas are much more open and less crowded. There are more options open to visitors than following the set path of the WW1 gallery and, as a result, there are fewer cabinets on display.
Having fewer displays in this instance is not a disadvantage. You have to consider that, due to the dense nature of the WW1 gallery, visitors may already be a bit worn down from the time they spent in the previous parts of the museum, and so having a more open floor plan gives you breathing room and lets you explore the sections you are most interested in at your own pace.
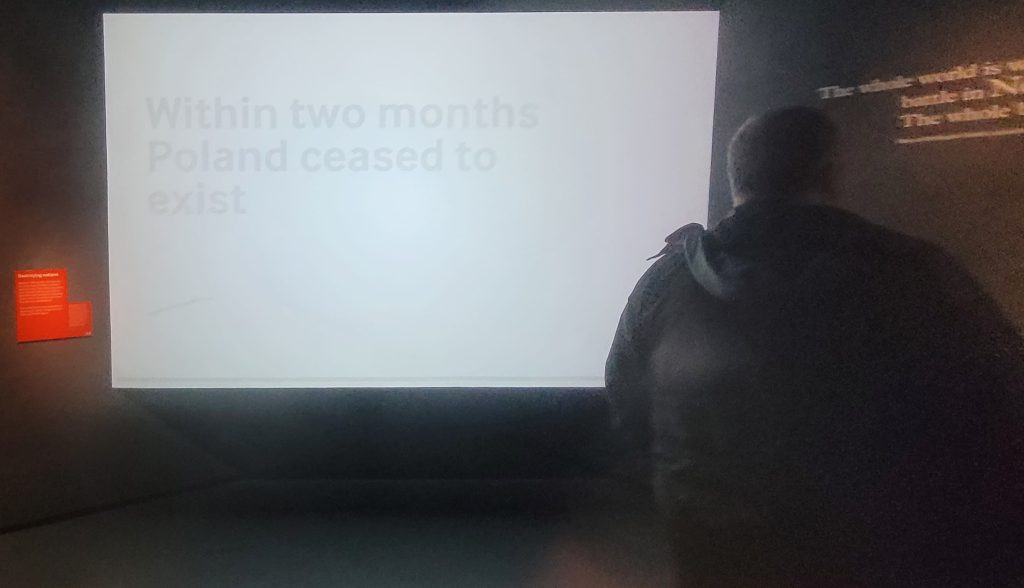
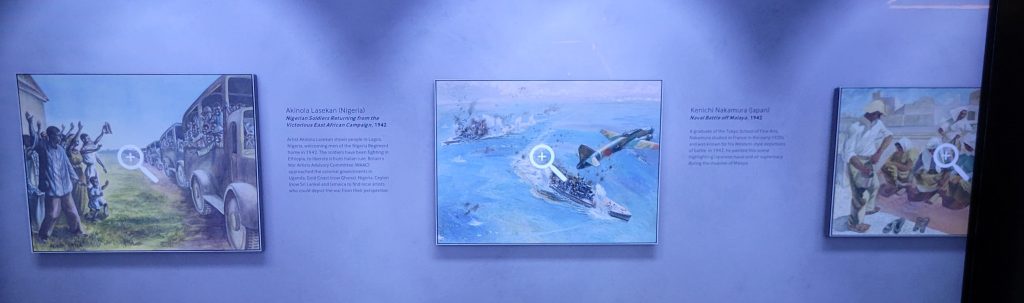
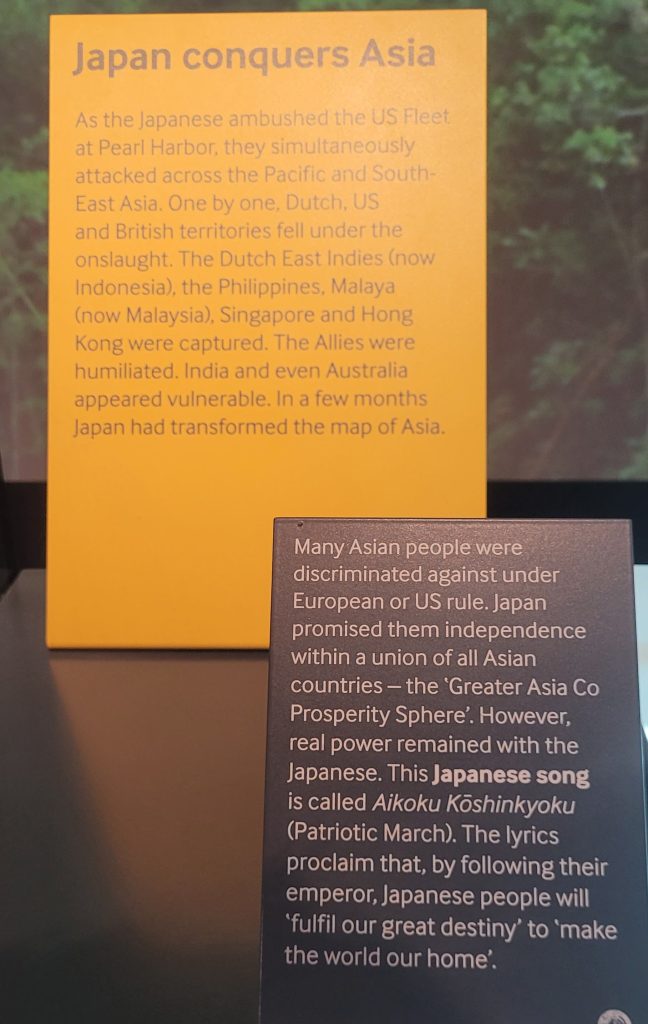
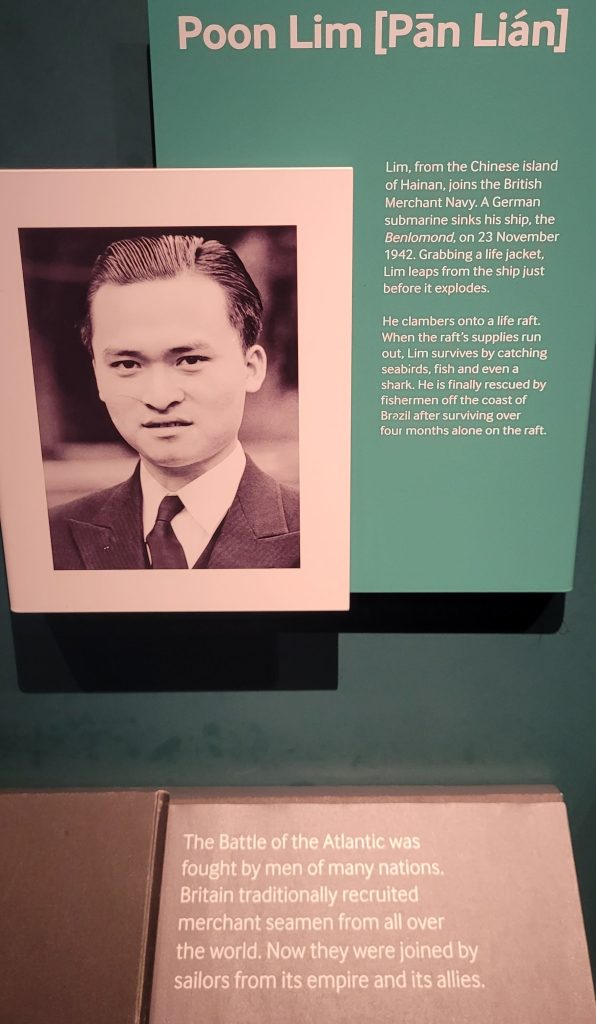
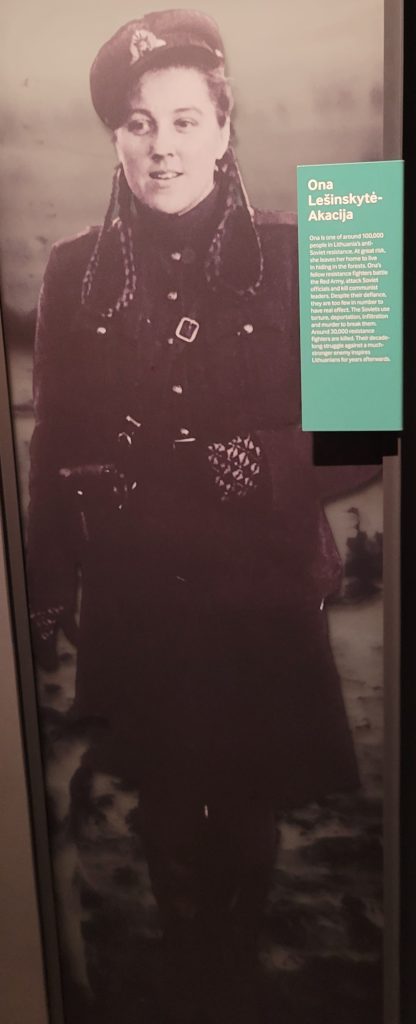
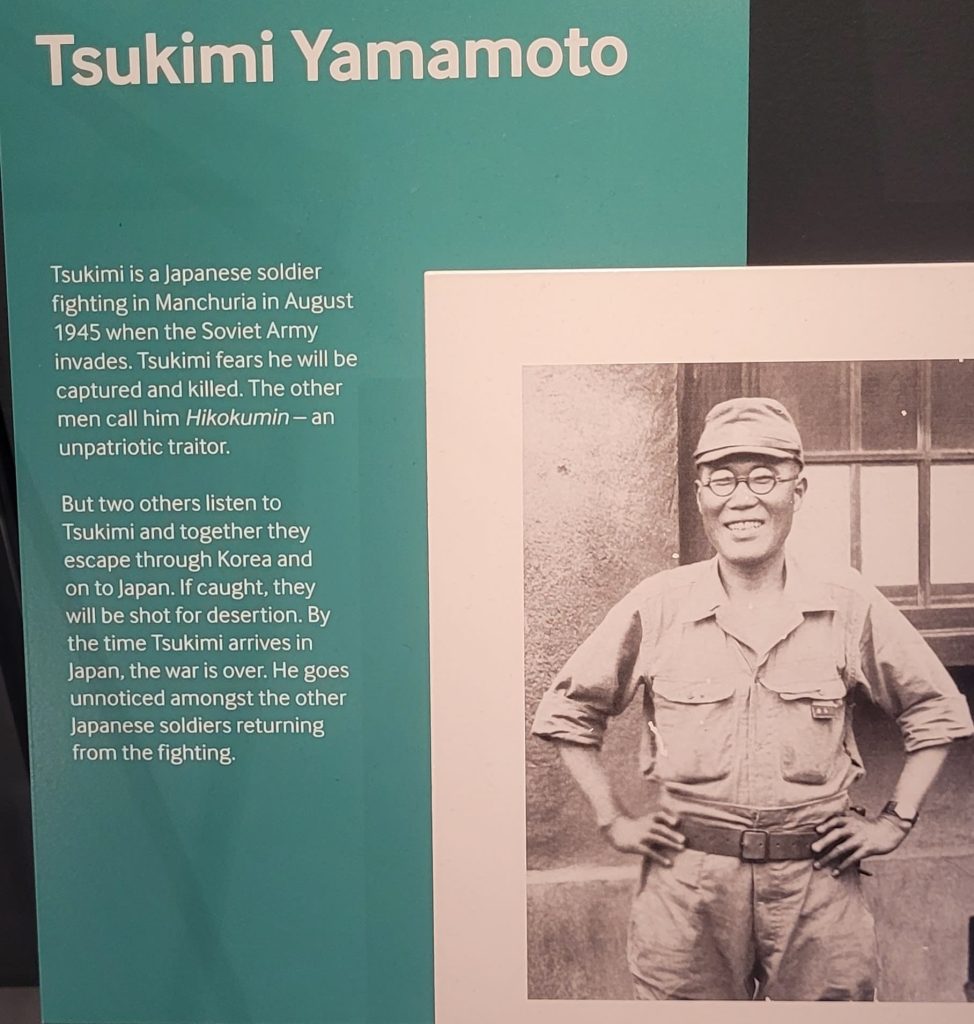
There is much more focus here on individual stories of people in different situations, from Nigerian volunteers in the Merchant Navy to stories of Japanese soldiers that defected. The whole scope of the war is covered, showing you the reason why it was known as a World War.
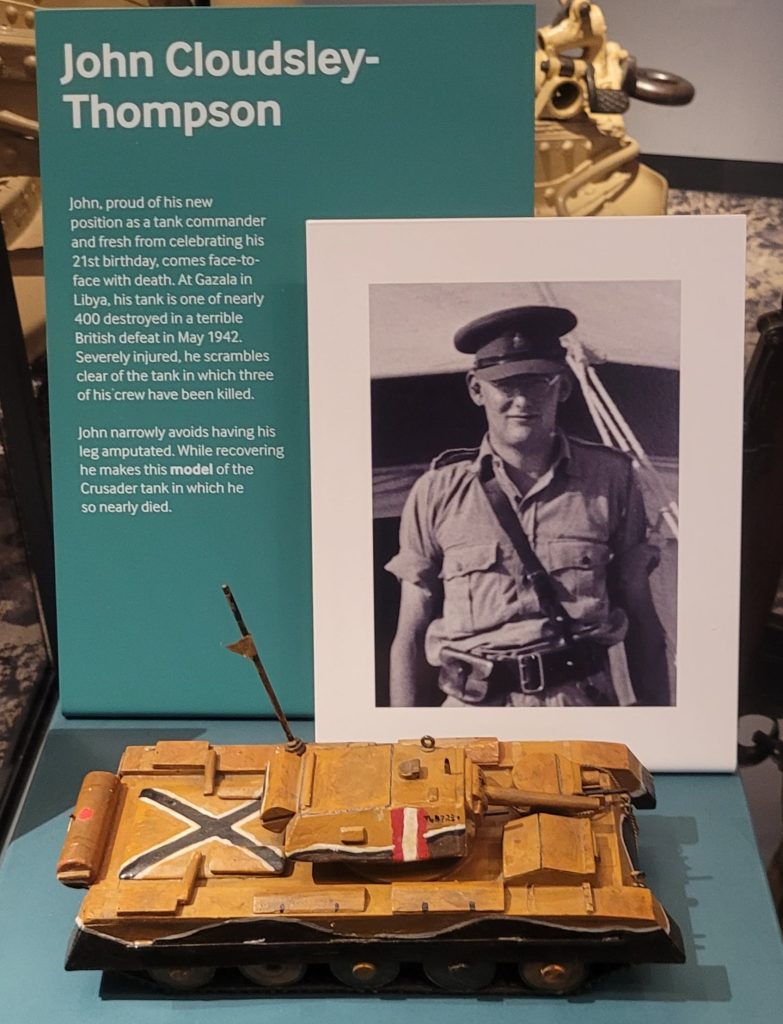
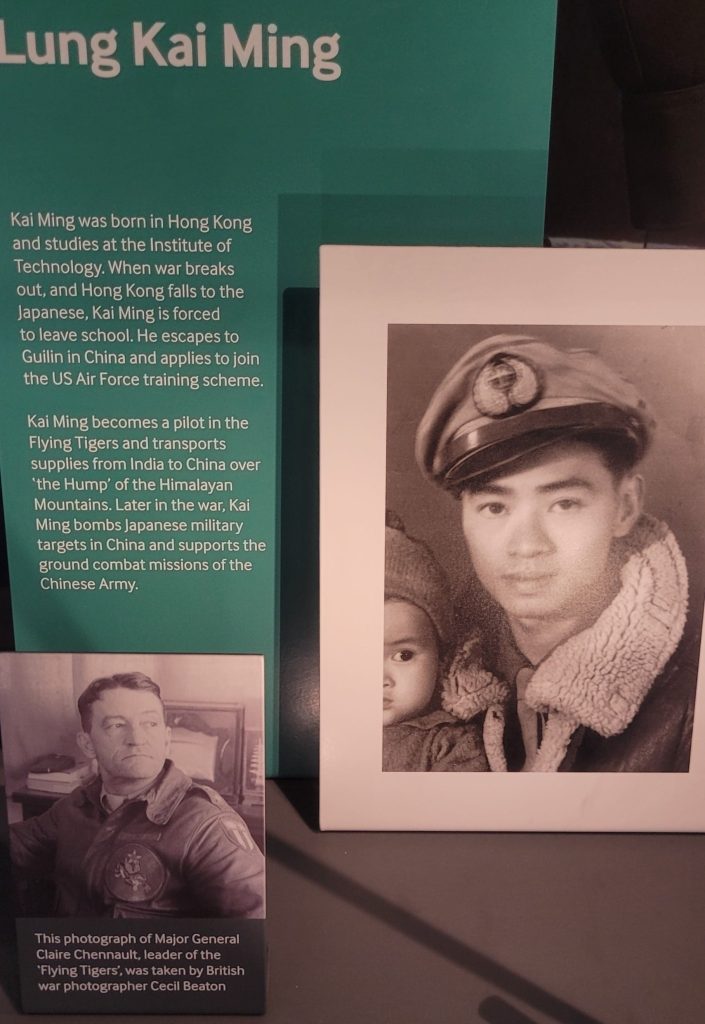
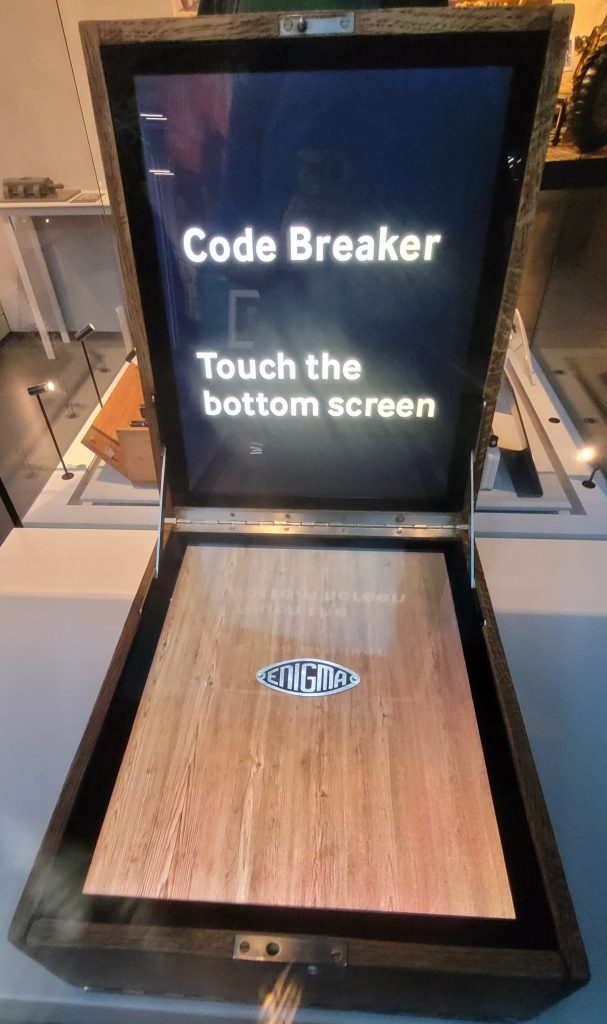
The exact same variety of techniques are on display here just as they were in the WW1 gallery. Interactive games, short videos, and touch-screen panels all add to the visitor experience, giving much needed variety to someone that, had they read even half of the panels on display, may have been in the museum for well over three hours by the end of this section.
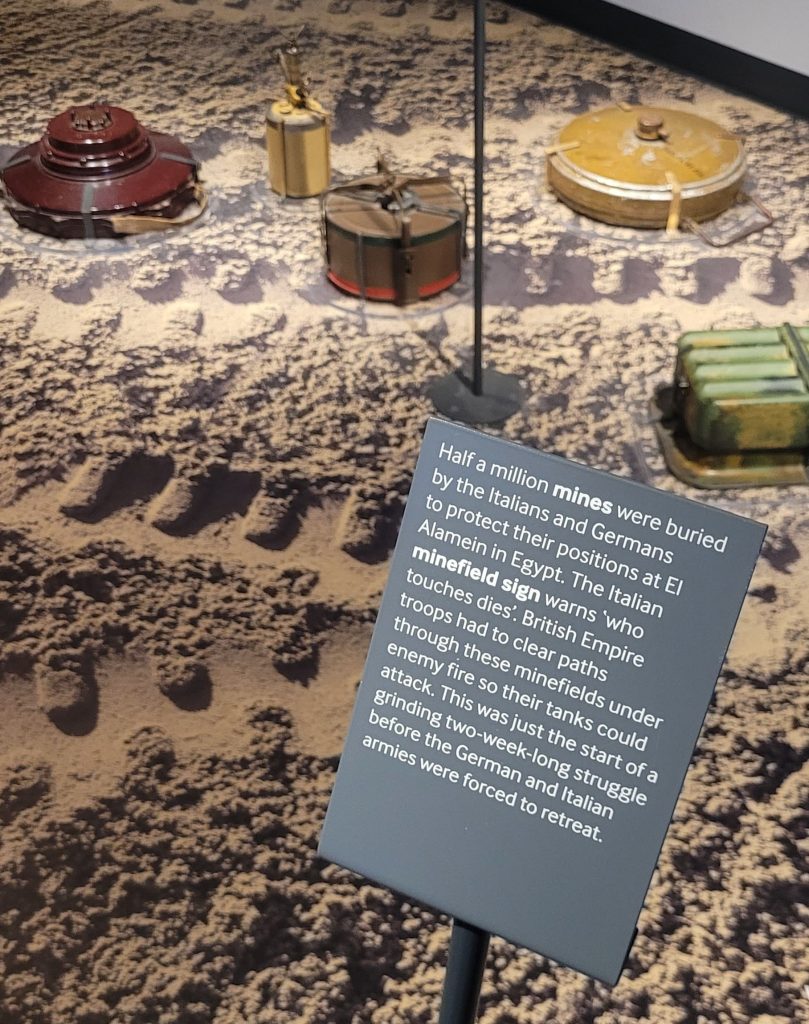
A small recreation of a minefield from North Africa is a great way to use up more space in the gallery without bombarding visitors with walls of text. And nearby there is even a piece of the USS Arizona, which was sunk during the attack on Pearl Harbor in 1941.
A unique and great piece of interpretation is the Battle of the Atlantic display. This is easily the best way that I have seen a museum show the scale of the war in the Atlantic. Columns of model ships are stacked on top of each other next to a month from the war. At first, the amount is massive when you see thousands of ships altogether, showing the sheer scale of destruction in just the Atlantic. Reading further, however, tells you that each model ship represents five real-life ships that were sunk, which makes the display even more astonishing. By drawing you in with a great display, you are eager to learn more. This technique is fantastic and shows the effectiveness that different interpretative techniques can have on engaging visitors.
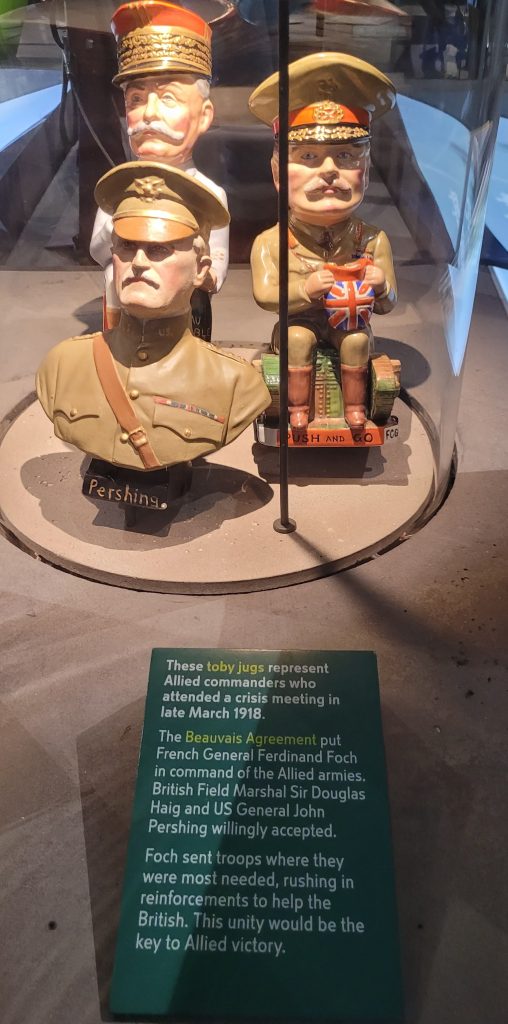
The end of the Second World War Galleries shows the impact of the war in both size and scale. It is preceded by a short video on the ‘Big Three’ of the war: the United States, the Soviet Union, and Great Britain. This sets up the final section on the atomic age perfectly and is a nice way to end the galleries on the World Wars, especially as there are many displays outside of the galleries on conflicts after 1945.
The Holocaust
The Holocaust Gallery is equally excellent and follows the same formula as the previous two.

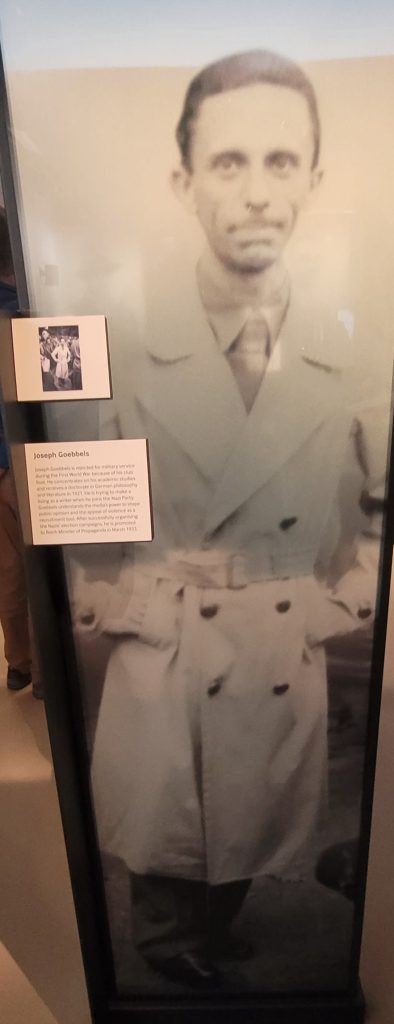
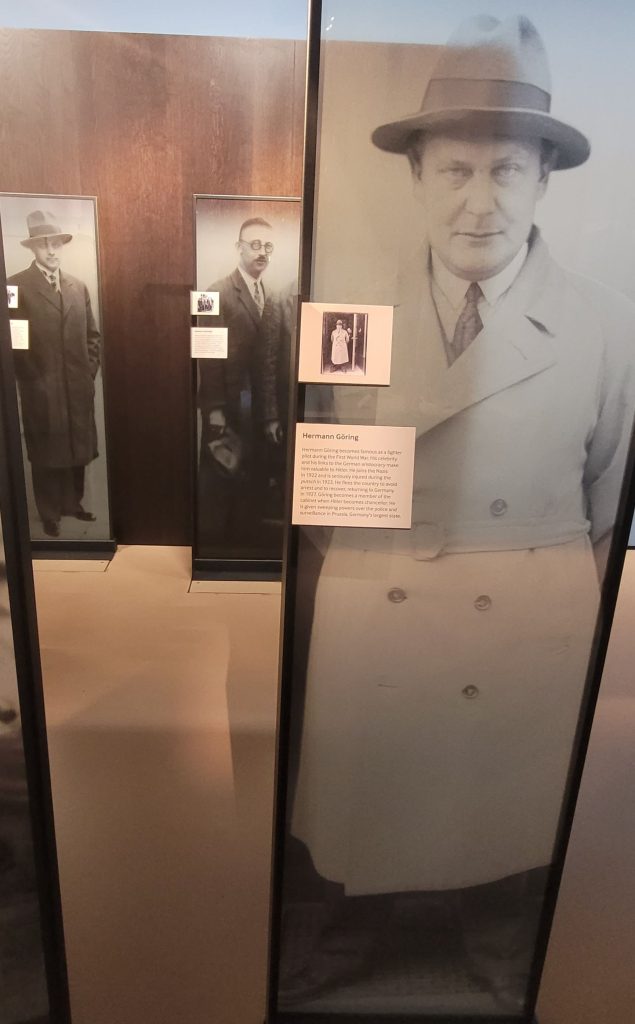
One thing to note about this gallery is that a lot of the focus is on the Nazis themselves, displaying who and how these crimes against humanity were committed.
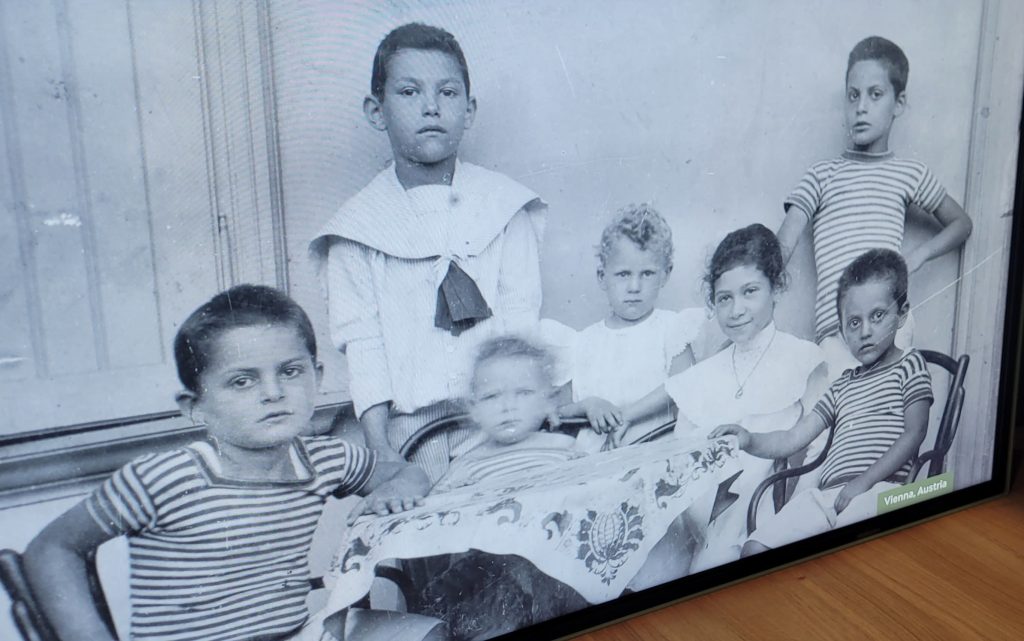
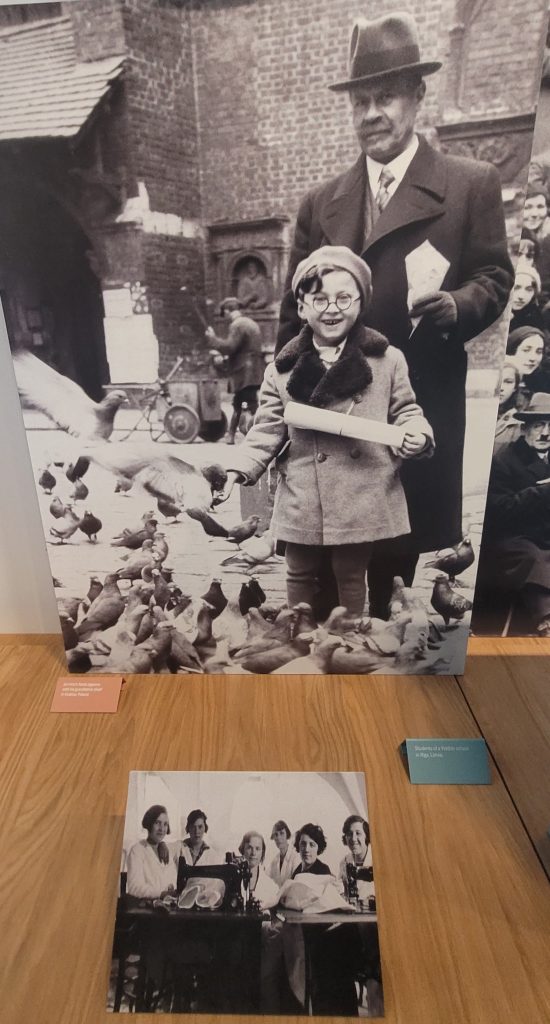
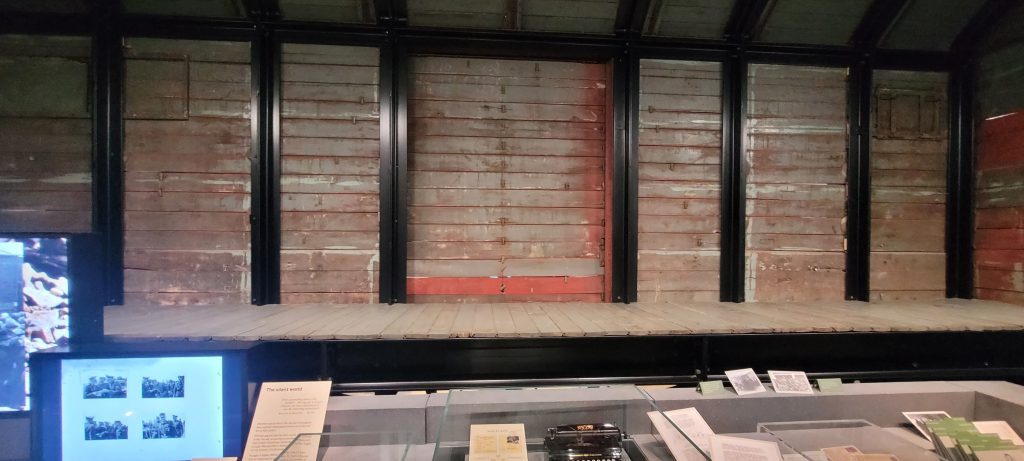
Throughout the gallery there are also personal stories of those who lost loved ones or themselves were killed in the Holocaust, alongside items from concentration camps and even items that were confiscated from Jewish prisoners as they were sent to the camps. It is quite a chilling experience, and seeing a reconstructed train car in the centre of the exhibit is a constant reminder of the horrors of the Holocaust.
An interesting aspect of this gallery is a small video section where you are able to watch videos showing personal testimonies of the survivors of the Holocaust as well as their descendants and the psychological impact of these events that still persist to this day.
Other displays
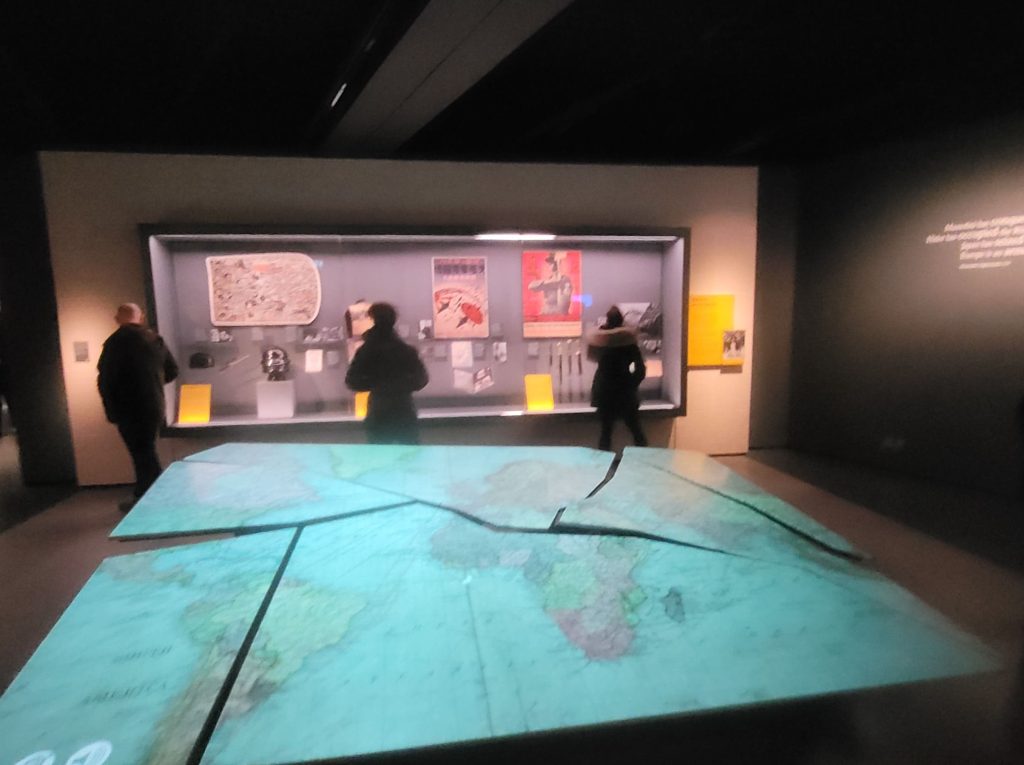
All the other displays and the temporary exhibit that was there when I visited final all work together to cement the themes and messages of the IWM. The main focus of the museum was to show the impact of war through individual testimonies whilst linking them to wider events throughout the years. The destructiveness of war and conflict are perfectly represented throughout each gallery, and whilst we can never truly understand these numbers, the IWM gets as close as you possibly could to doing so.
Score breakdown (IWM London): 10/10!!
Location 1/1
The Museum isn’t in the centre of London, but it isn’t far off either.
Accessibility 2.5/2.5
This museum has excellent disability access. The experience is excellent for children as well as adult visitors and I myself saw multiple school trips visiting the museum. The museum also is free to enter and it is entirely up to the visitor whether they want to contribute to the upkeep and experience with a donation
Presentation 0.5/0.5
This is a classic museum both inside and out, you can’t miss it.
Displays 3.5/3.5
The variety and amount of displays at the IWM London is astounding, from the minute you enter the grounds of the museum you are in awe of the mitems on display and once you enter the various galleries, you cant help but appreciate the variety of displays and display techniques being used.
Interpretation 7/7
I can’t add anything more to thuis section than what I have explained throughout the rest of this post. I honestly don’t know what they could add to the interpretation already on display. Everything you read is excellent, you are rewarded for exploring more and interacting more, and you always look forward to what is around the next corner.
Amenities 0.5/0.5
Shop and a cafe, the sausage sandwich was lovely.
- https://www.iwm.org.uk/visits/iwm-london Information taken on the 24th of February 2026 ↩︎

Leave a Reply