It is 1943, and in Hut 11, the whirring and ticking of machines can be heard operating around the clock to help break the German ‘Enigma’ code. Luckily for us, the war is over, and we are able to freely explore this once secret area and discover the secrets of the ‘Bombe’ machine.
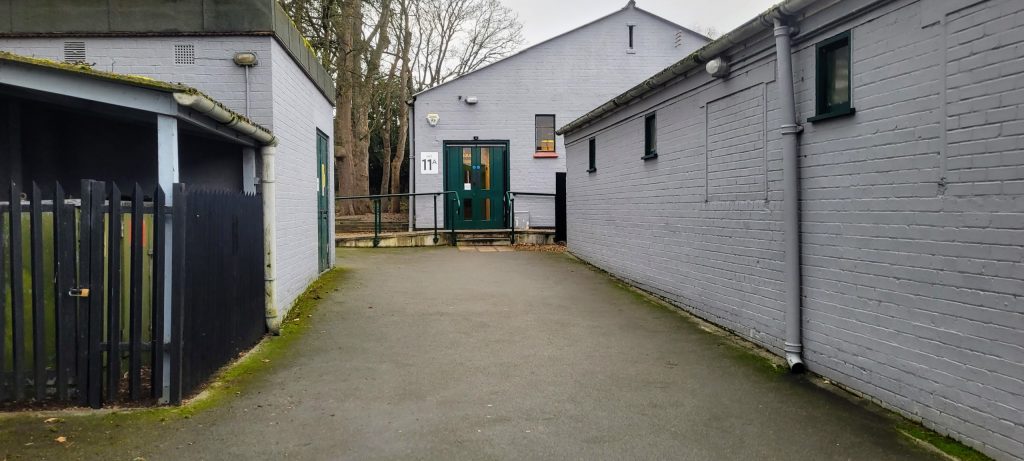
In the handbook that all visitors are issues with, you are told the direction in which you should explore the park, rather obviously Hut 11A and Hut 11 are designed to be viewed one after another. Even if you were to walk around Bletchley Park without guidance, you would find it hard to visit these two huts in an order that doesn’t involve viewing one after viewing the other. Whilst the recommended route is to visit hut 11A first, if someone were to choose to enter hut 11 first, their experience would be equal to if not better than the experience of someone who followed the suggested route.
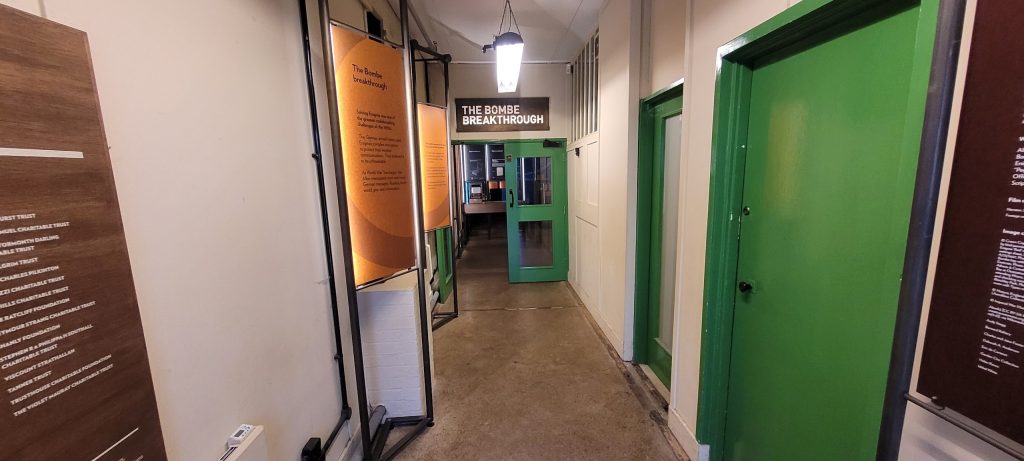
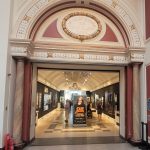
Entering ‘The Bombe Breakthrough’ exhibit in Hut 11A, the visitor is immediately introduced to the aims of the exhibit. These being to display information relating to the design, creation, and use of the Bombe. How the Bombe works is also a key part to the exhibit, which becomes more apparent after the introductory section.
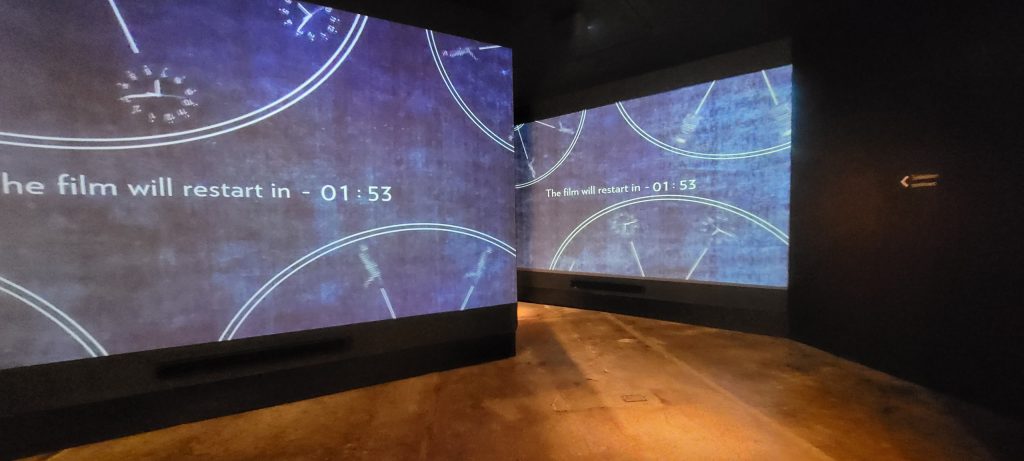
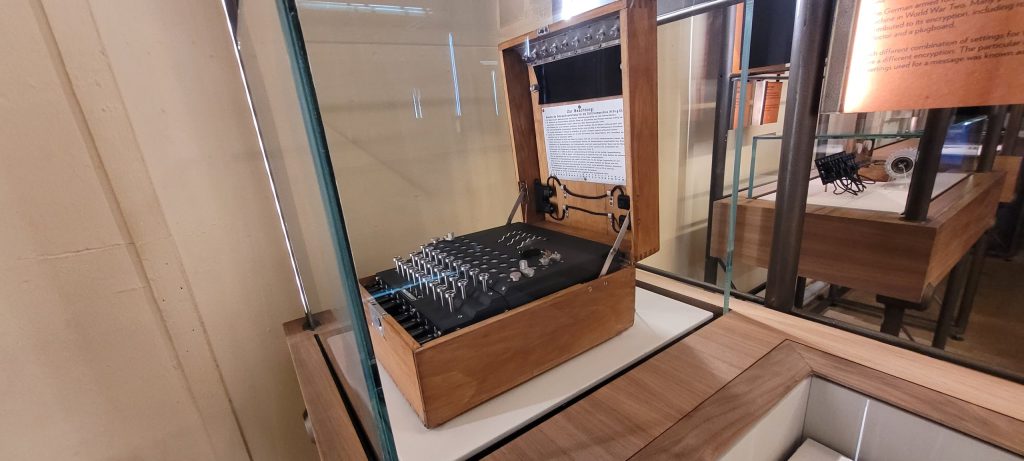
After a brief look and reading up of some items relating to the Bombe, such as the Enigma Machine shown earlier, you are met with a short film that plays every two minutes, basically ensuring that every visitor has the chance to watch it without it being too time consuming. The video is a nice post-introductory dramatic display of the importance of, and the process of Bletchley Park in what they call the ‘communications arms race’.
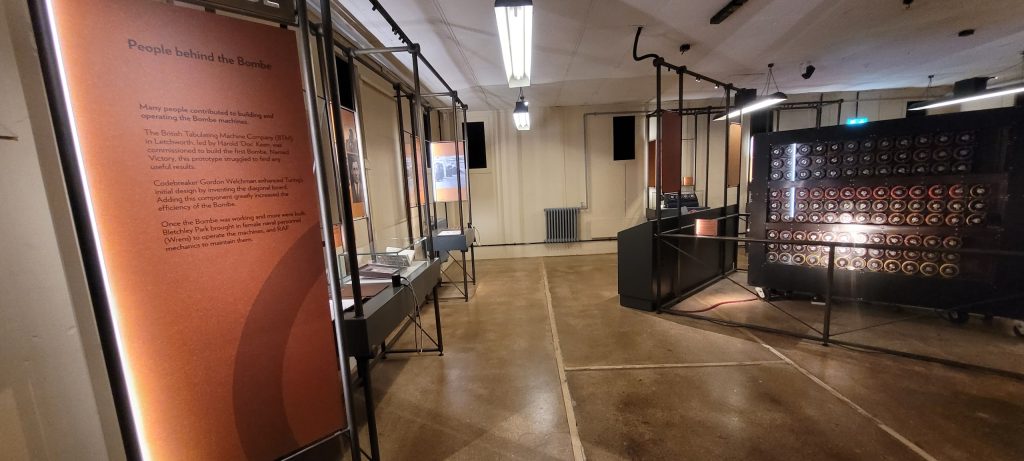
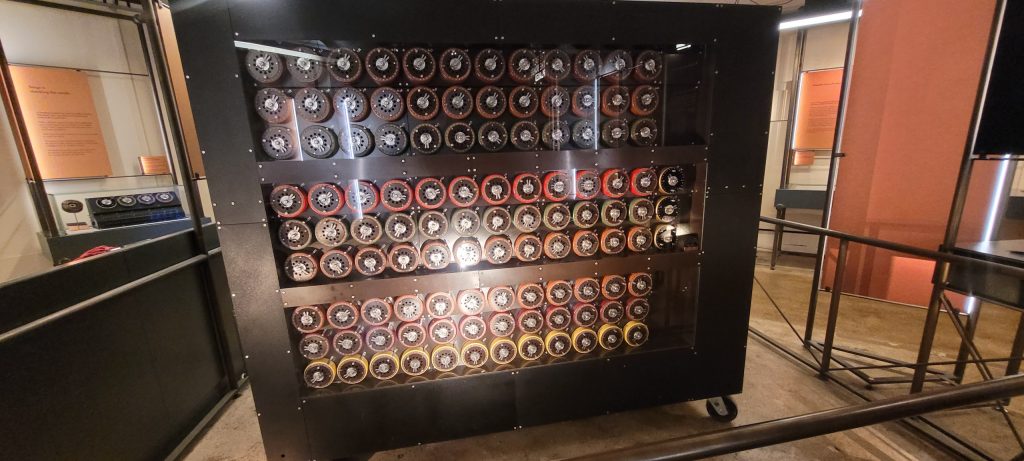
The 2nd half of the exhibit is dedicated mostly to showing you how the Bombe works, there are various recreations of different aspects of the Bombe’s function, including a replica of a Bombe as seen on the right of the picture above. Other interpretation in the exhibit is focussed on those who helped design the Bombe including accounts from or of Tommy Flowers, a key figure in the engineering of the machines that broke enigma.
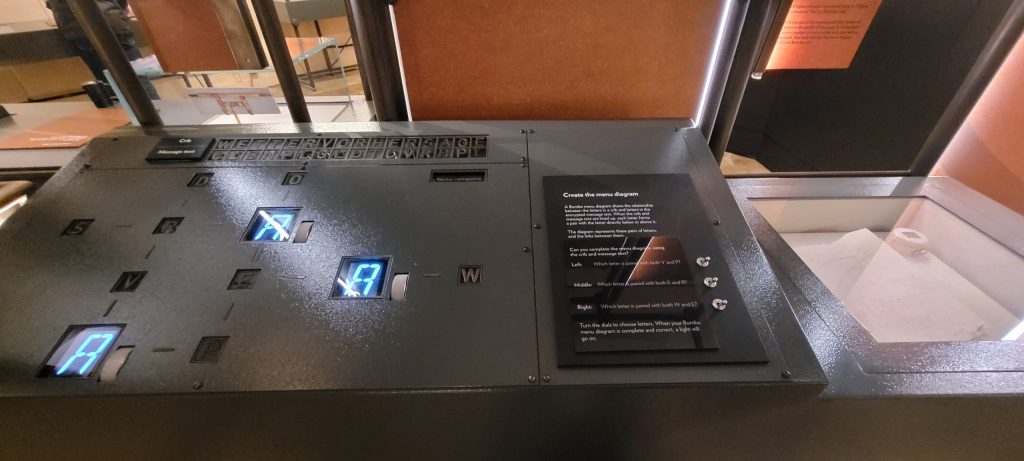
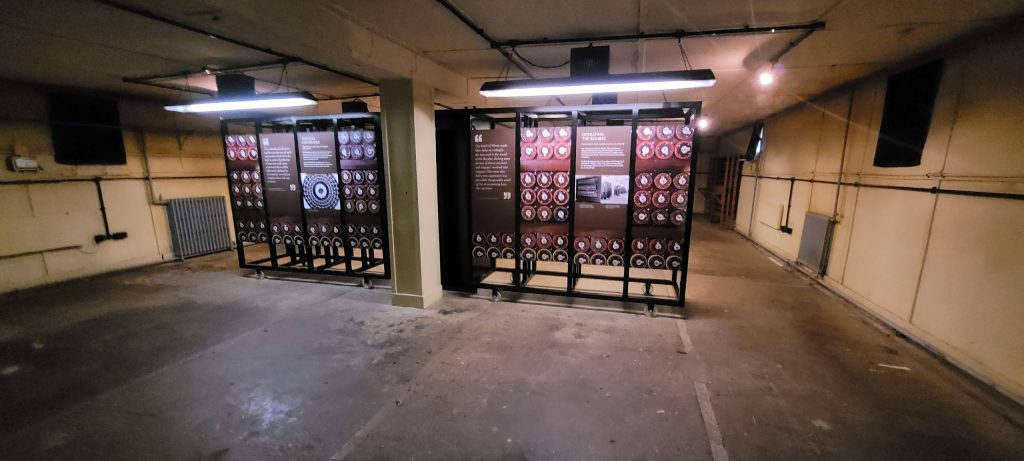
Displays like the one above are frequent in the 2nd half of the exhibit and they aim to explain how the Bombe works by simplifying different steps in the process of decrypting enigma. Whilst the concepts are probably too complex for the youngest of museum goers to understand, the decision to make decryption an interactive part of the exhibit is great, and enables even the least technically gifted visitors (like myself) to gain some understanding and a greater appreciation of the complexities and marvels that are the Bombe machines.
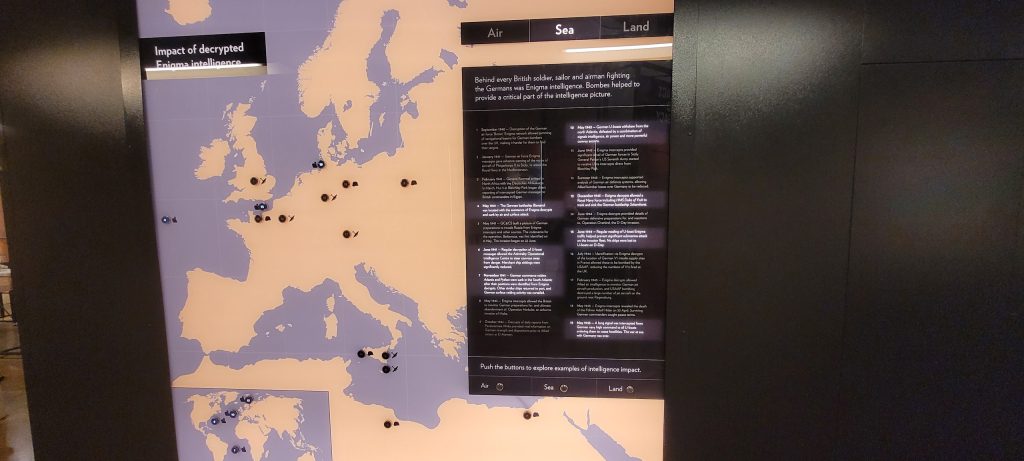
The final aspect of Hut 11A which I would like to discuss is the map shown above. For me, the above map showcases what makes museum interpretation so much more than just words on a panel. The map makes evident the impacts of the Bombe outside it being a technical marvel, rather than just stating “The Bombe helped decrypt x amounts of messages in x amount of time”, locations and dates of important breakthroughs are shown and let the visitor know that the Bombe was much more than just a revolutionary piece of machinery by displaying its capacity to save lives.
I touched on Hut 11 at the beginning of this review, and I have to say it is my personal favourite part of the two exhibits. The aim of my reviews is to get you the reader to hopefully appreciate the smaller details in museum exhibits and get you visiting more of them so i won’t spoil my favourite bit. However, as a general teaser I will say that Hut 11 is overlooked, I know this because I spent 20 minutes in here and it was the only part of Bletchley Park where I never saw another person. The bleak looking room offers a great atmospheric look at the Bombe machines. It is also one of the best parts of the museum in revealing the more personal side to the operations at Bletchley Park.
Huts 11 and 11A combined score an excellent 8 out of 10, I only wish that Hut 11 was more obviously accessible and that it was perhaps a bit more hectic inside (If you visit you will know what I mean).
Let me know your thoughts in the comments here (I read them all) and tell me if you have visited Bletchley Park and if I should review anymore of the site!
Thank you!
Leave a Reply